PCB Assembly Display: The Complete Guide to Display Board and PCB Assembly Services
Winnie King
In today’s digital world, displays are everywhere — from smartphones and smartwatches to industrial control panels and automotive dashboards. At the heart of every modern display lies a critical component: the PCB assembly display. This unassuming yet powerful technology enables visual data transmission, user interaction, and seamless device functionality.
But what exactly is a PCB assembly display, and why does it matter in the broader context of electronic product development? Whether you're an engineer, product designer, or procurement manager, understanding the nuances of display board assembly, display PCB assembly, and available display PCB assembly services can significantly impact your project's success.
This comprehensive guide dives deep into the world of display-integrated PCBs, exploring their design, manufacturing process, quality assurance, applications, and how to select the right service provider for your needs.
What Is a PCB Assembly Display?
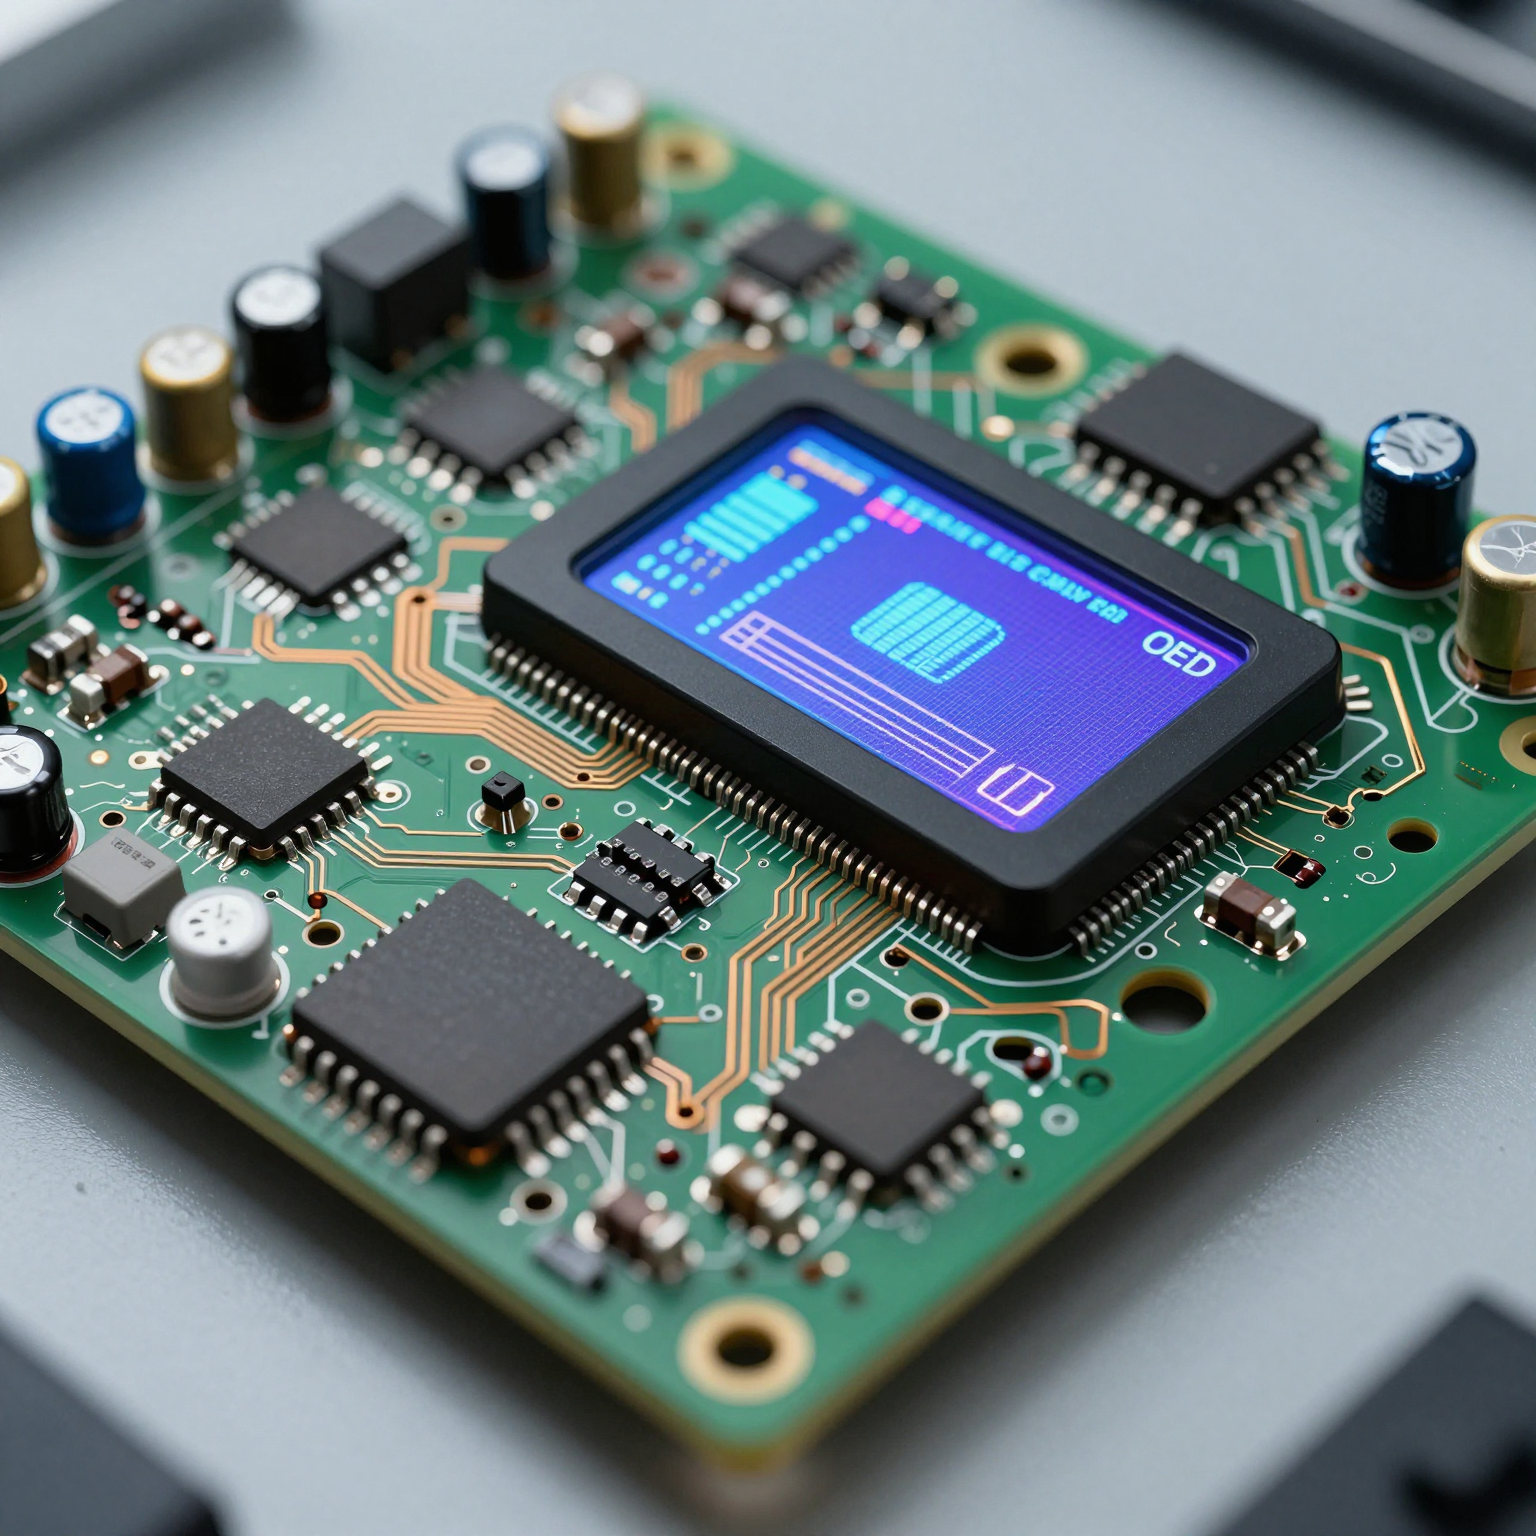
A PCB assembly display refers to a printed circuit board (PCB) that has been fully assembled with electronic components specifically designed to support and drive a display module. These assemblies integrate microcontrollers, driver ICs, resistors, capacitors, connectors, and sometimes backlighting systems — all precisely mounted on a substrate to deliver image signals to LCDs, OLEDs, LED matrices, or other types of screens.
Unlike standard PCBs used for general-purpose logic or power distribution, a display PCB assembly is engineered with signal integrity, timing accuracy, and electromagnetic compatibility (EMC) as top priorities. Even minor deviations in trace length or component placement can result in flickering, ghosting, or complete display failure.
The term "PCB assembly display" encompasses both the physical hardware and the integration process. It reflects not just the end product but also the precision engineering involved in assembling components capable of handling high-speed video data streams while maintaining low noise interference.
Why Display-Specific PCB Assemblies Matter
Modern displays operate at increasingly higher resolutions and refresh rates. A 4K touchscreen in a medical monitor or an AMOLED panel in a wearable demands flawless performance. To meet these requirements:
- Signal paths must be impedance-controlled.
- Power delivery must be stable and ripple-free.
- Thermal management becomes crucial due to heat generated by dense component layouts.
- Miniaturization often requires HDI (High-Density Interconnect) techniques.
These factors make display board assembly more complex than typical PCB assembly tasks. As such, manufacturers offering display PCB assembly services need specialized expertise, advanced equipment, and rigorous testing protocols.
Understanding Display Board Assembly: Components and Architecture
To appreciate the complexity behind a successful PCB assembly display, let’s break down its core components and architectural considerations.
Core Components of a Display PCB Assembly
- **Display Driver ICs
(Integrated Circuits)**
These chips translate digital image data into electrical signals that control individual pixels on the screen. Common examples include RGB interface drivers, source/drain drivers for TFT-LCDs, and timing controllers (TCONs).
-
Microcontroller Unit (MCU) or System-on-Chip (SoC)
Often acts as the brain of the display system, processing input signals from sensors, buttons, or host devices and rendering appropriate visuals. -
Power Management ICs (PMICs)
Regulate voltage levels required by different parts of the display — especially important for OLEDs which require multiple bias voltages. -
Passive Components (Resistors, Capacitors, Inductors)
Used for filtering noise, stabilizing power rails, pull-up/pull-down configurations, and EMI suppression. -
Connectors and Interfaces
Include FPC (Flexible Printed Circuit) connectors, HDMI, MIPI DSI, SPI, I²C, or parallel RGB interfaces depending on the application. -
**Backlight Control Circuitry
(for LCDs)**
Manages LED backlights using PWM dimming circuits or constant-current drivers.
-
Touch Controller (if applicable)
For touch-enabled displays, this chip interprets capacitance changes and communicates touch coordinates to the main processor. -
Crystal Oscillators and Timing Elements
Ensure synchronization between display refresh cycles and data transmission.
Each of these elements must be carefully selected, placed, and soldered during the display board assembly phase to ensure optimal functionality.
Design Considerations for Display PCB Assembly
Designing a display PCB assembly goes beyond simply placing components on a board. Engineers must account for several key factors to avoid common pitfalls like image distortion, color inconsistency, or intermittent operation.
1. Impedance Control and
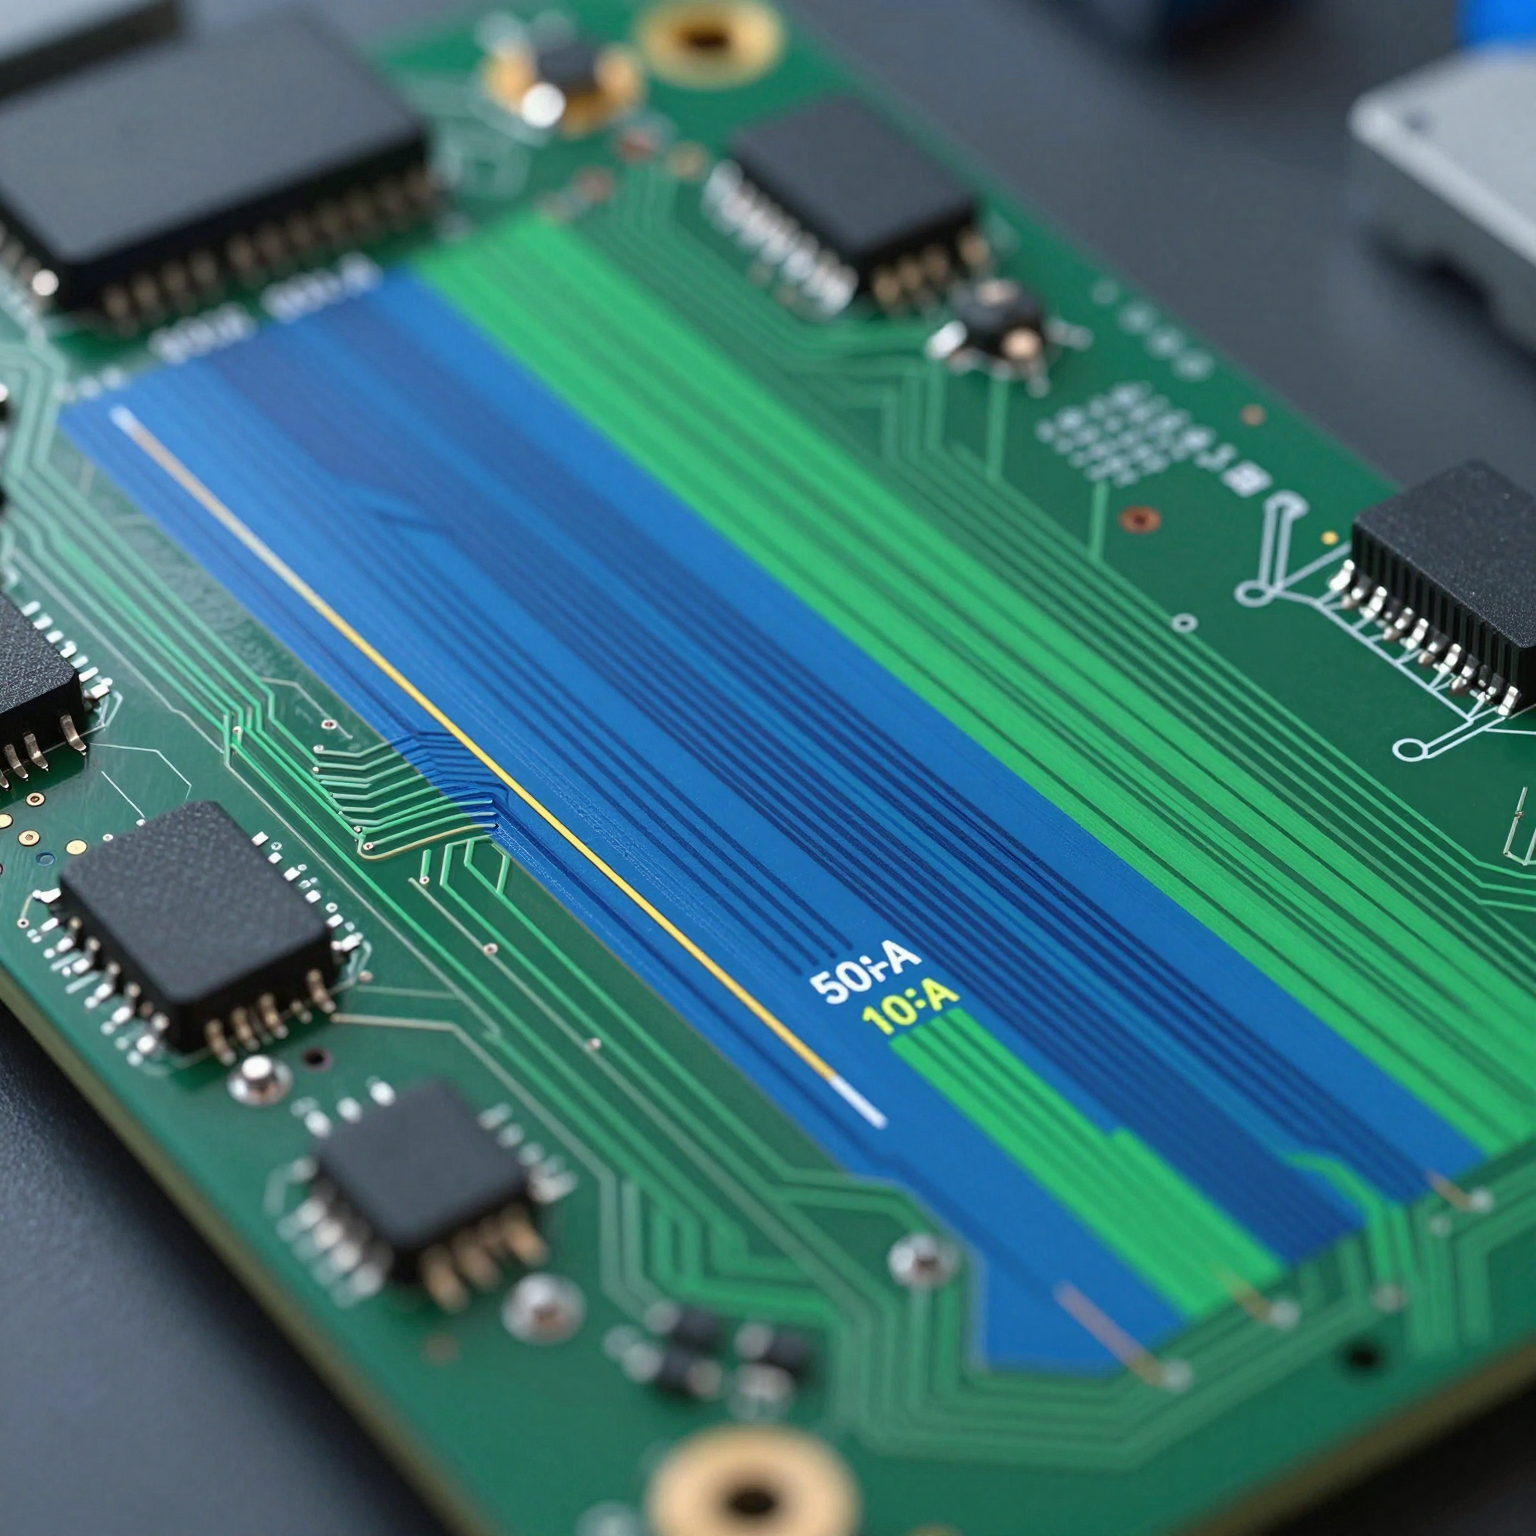
Trace Routing
High-speed signals such as LVDS, MIPI, or RGB parallel buses require controlled impedance routing. Mismatched impedances cause signal reflections, leading to data corruption. Designers use differential pairs with matched lengths and proper spacing to maintain signal integrity.
For example, in a MIPI DSI interface commonly used in mobile displays, each data lane consists of a positive and negative trace pair. These must be routed side-by-side with tight tolerances (±10% length matching) across the entire path.
2. Layer Stackup Optimization
Multi-layer boards (typically 4–8 layers) are standard in display PCB assembly to separate analog, digital, and power planes. A typical stackup might include:
- Top layer: Component placement and high-speed signals
- Inner Layer 1: Ground plane
- Inner Layer 2: Power plane
- Bottom layer: Low-speed signals and return paths
This arrangement minimizes crosstalk and provides a solid reference plane for return currents.
3. Decoupling and Bypass Capacitance
Noise on power lines can disrupt sensitive analog circuits within driver ICs. Strategically placed decoupling capacitors near power pins help filter out high-frequency transients. A combination of bulk capacitors (e.g., 10µF) and ceramic capacitors (0.1µF) is typically used.
4. Electromagnetic Interference (EMI) Mitigation
Displays are susceptible to EMI from nearby wireless modules (Wi-Fi, Bluetooth), motors, or switching regulators. Techniques such as ground shielding, guard rings, and ferrite beads are employed to reduce interference.
Additionally, minimizing loop areas in current paths reduces magnetic field emissions — a key concern in FCC/CE compliance testing.
5. Thermal Management
Driver ICs and backlight circuits generate heat, especially in compact designs. Effective thermal vias, copper pours, and even embedded heat sinks may be necessary to dissipate heat efficiently and prevent thermal throttling or component degradation.
The Display PCB Assembly Process: Step-by-Step
Now that we understand the design aspects, let’s walk through the actual display PCB assembly process — a highly precise sequence involving automation, inspection, and validation.
Step 1: Solder Paste Application
Using a stencil printer, solder paste (a mixture of flux and tiny solder particles) is applied to the pads where surface-mount components will be placed. Precision is vital; too much or too little paste can lead to bridging or insufficient joints.
Automated optical inspection (AOI) may follow to verify paste volume and alignment.
Step 2: Component Placement (Pick-and-Place)
High-speed pick-and-place machines use vacuum nozzles to position thousands of components per hour onto the sticky solder paste. Vision systems align components with micron-level accuracy, essential for fine-pitch ICs used in display drivers.
For display board assembly, misalignment of even 0.1mm can render a connection unusable, particularly with BGAs (Ball Grid Arrays) or QFN packages.
Step 3: Reflow Soldering
The board passes through a reflow oven where temperature profiles melt the solder paste, forming permanent electrical and mechanical bonds. Profiles are carefully calibrated based on component sensitivity and PCB thickness.
Nitrogen-enriched environments are sometimes used to reduce oxidation and improve solder joint quality.
Step 4: Manual Insertion (Through-Hole Components)
While most modern displays use surface-mount technology (SMT), some connectors or mechanical parts may still require through-hole mounting. These are inserted manually or via automated insertion machines and then wave-soldered on the underside.
Learn more about SMT vs through-hole assembly for deeper insights into these methods.
Step 5: Cleaning and Inspection
After soldering, residual flux and contaminants are removed using ultrasonic or spray cleaning systems. AOI checks for missing components, polarity errors, tombstoning, or bridging.
X-ray inspection may be used for hidden joints under BGAs or shielded components.
Step 6: Functional Testing
Finally, the PCB assembly display undergoes functional testing using custom test fixtures. Test procedures may include:
- Power-on verification
- Signal output checks (e.g., measuring MIPI lanes)
- Touch response calibration
- Brightness and contrast adjustment
- Dead pixel detection
Only units passing all tests proceed to packaging and shipment.
Types of Displays Supported by PCB Assembly Services
Different display technologies demand tailored approaches in display PCB assembly. Here are the most common types supported by professional display PCB assembly services:
1. LCD (Liquid Crystal Display)
Widely used in consumer electronics, industrial HMIs, and automotive clusters. Requires backlighting and driver circuits for row/column addressing.
- Twisted Nematic (TN): Fast response, lower cost
- In-Plane Switching (IPS): Better viewing angles, color reproduction
- Vertical Alignment (VA): High contrast ratios
LCDs typically use parallel RGB, SPI, or LVDS interfaces.
2. OLED (Organic Light-Emitting Diode)
Self-emissive technology eliminating the need for a backlight. Offers superior contrast, faster refresh, and flexibility.
Used in smartphones, wearables, and curved displays. Requires precise current regulation and protection against moisture/oxygen ingress.
OLED PCB assembly displays often incorporate PMICs and temperature compensation algorithms.
3. LED Matrix Displays
Common in signage, status indicators, and decorative lighting. Can be monochrome or full-color (RGB LEDs).
Driven by shift registers, constant-current drivers, or dedicated LED controller ICs like the HT16K33 or WS2812B.
Assembly focuses on thermal dissipation and current balancing across strings.
4. TFT (Thin-Film Transistor) Displays
A subtype of LCD with active-matrix addressing for sharper images and better responsiveness.
Frequently found in tablets, GPS units, and medical devices. Requires TCON boards and high-bandwidth interfaces like MIPI DSI or DPI.
TFT display board assemblies often involve rigid-flex PCBs to connect the mainboard to the display module.
5. e-Ink / Electronic Paper Displays (EPD)
Low-power, sunlight-readable screens used in e-readers, shelf labels, and IoT devices.
Require specific waveform driving voltages and long-term stability. Display PCB assembly for EPDs emphasizes ultra-low power design and non-volatile memory integration.
Applications of PCB Assembly Display Technology
The versatility of PCB assembly display solutions makes them indispensable across numerous industries.
Consumer Electronics
Smartphones, tablets, smartwatches, fitness trackers, and home appliances rely heavily on miniaturized display PCB assemblies. These demand high-density interconnects, flexible substrates, and energy-efficient designs.
Example: A smartwatch uses a flexible display board assembly to wrap around the wrist form factor, integrating touch sensing and OLED driving on a single compact PCB.
Automotive Industry
Modern vehicles feature digital instrument clusters, infotainment systems, heads-up displays (HUD), and rear-seat entertainment. These require robust display PCB assembly services compliant with AEC-Q100 standards for reliability under extreme temperatures and vibrations.
Advanced Driver Assistance Systems (ADAS) also depend on real-time display feedback, making fault-tolerant design essential.
Medical Devices
Patient monitors, ultrasound machines, surgical displays, and portable diagnostics require high-resolution, reliable PCB assembly displays. Regulatory compliance (e.g., ISO 13485, FDA) adds another layer of scrutiny to manufacturing processes.
Sterilization resistance, EMI immunity, and fail-safe operation are critical.
Industrial Automation
Human-Machine Interfaces (HMIs), programmable logic controller (PLC) panels, and SCADA systems use ruggedized display board assemblies built to withstand dust, humidity, and electrical noise.
Long lifecycle support and extended temperature ranges (-40°C to +85°C) are often specified.
Retail and Digital Signage
Large-format displays, kiosks, and point-of-sale (POS) terminals use scalable display PCB assemblies capable of driving high-brightness LEDs or large LCD panels.
Remote management and content updates require integrated communication modules (Wi-Fi, Ethernet) on the same board.
Choosing a Reliable Display PCB Assembly Service Provider
With so many variables affecting performance, selecting the right partner for your display PCB assembly service needs is crucial. Not all contract manufacturers have the capability to handle display-specific challenges.
Here are key criteria to evaluate potential providers:
1. Technical Expertise in Display Technologies
Ask whether they’ve worked with your display type (OLED, TFT, etc.) and interface standard (MIPI, SPI, LVDS). Experience matters when debugging subtle timing issues or optimizing power sequences.
Look for case studies or references involving similar projects.
2. Advanced Manufacturing Capabilities
Ensure the facility has:
- High-precision SMT lines with sub-micron placement accuracy
- Reflow ovens with nitrogen capabilities
- X-ray and AOI inspection systems
- Cleanroom environments (for sensitive assemblies)
- Support for HDI, rigid-flex, and ultra-fine pitch components
Check their PCB manufacturing capabilities page if available.
3. In-House Design and Engineering Support
Some providers offer DFM (Design for Manufacturability) reviews, helping optimize your layout before production. This includes checking impedance control, thermal relief, and assembly yield risks.
They may also assist with firmware loading or calibration scripts for display initialization.
4. Quality Assurance and Testing Protocols
A strong QA process should include:
- Incoming component inspection
- Solder paste inspection (SPI)
- Automated optical and X-ray inspection
- Burn-in testing
- Environmental stress screening (thermal cycling, vibration)
- Final functional testing with real display modules
Providers following IPC-A-610 Class 2 or Class 3 standards demonstrate commitment to quality.
Read more about the 6-step quality control process used by leading manufacturers.
5. Supply Chain and Component Sourcing
Shortages of driver ICs or specialty capacitors can delay production. Choose a PCB assembly manufacturer with proven electronic component sourcing strategies, including access to authorized distributors and alternative part qualification.
Avoid companies reliant solely on spot-market purchases.
6. Scalability and Turnaround Time
Whether you need prototypes or mass production, confirm the provider can scale accordingly. Quick-turn services (5–10 day turnaround) are valuable for prototyping phases.
Also, assess their ability to manage inventory and provide kitted builds.
7. Compliance and Certifications
Depending on your industry, certifications such as ISO 9001, ISO 13485 (medical), IATF 16949 (automotive), or UL listing may be mandatory.
Verify these upfront to avoid regulatory roadblocks later.
Benefits of Outsourcing Display PCB Assembly Services
Partnering with a specialized display PCB assembly service offers several strategic advantages over in-house production.
1. Cost Efficiency
Setting up an SMT line with reflow ovens, pick-and-place machines, and inspection tools requires significant capital investment. Outsourcing eliminates this burden, allowing companies to focus R&D budgets on innovation rather than infrastructure.
2. Faster Time-to-Market
Experienced assemblers can move quickly from design review to first-article production. Many offer turnkey solutions including component procurement, programming, and final testing — accelerating launch timelines.
3. Access to Cutting-Edge Equipment
Top-tier PCB assembly manufacturers invest continuously in new technologies — such as 01005 component handling, micro-via drilling, or selective soldering — giving clients access to capabilities they couldn’t afford independently.
4. Reduced Risk of Defects
Professional assemblers employ statistical process control (SPC), real-time monitoring, and predictive maintenance to minimize defects. Their experience with thousands of boards helps identify potential issues early.
5. Flexibility and Scalability
From one-off prototypes to million-unit runs, third-party services adapt to changing volumes without requiring internal resource adjustments.
Many offer consignment, turnkey, or hybrid models based on client preferences.
Common Challenges in Display PCB Assembly and How to Overcome Them
Despite best efforts, certain issues frequently arise during PCB assembly display projects. Awareness and proactive mitigation are key.
1. Signal Integrity Issues
Problem: Ghosting, flickering, or partial screen activation due to impedance mismatches or crosstalk.
Solution: Perform pre-layout simulation using tools like HyperLynx or SIWave. Use controlled dielectrics, proper stackups, and length-matched traces. Validate post-assembly with oscilloscopes or protocol analyzers.
2. Power Supply Noise
Problem: Color shifts or brightness instability caused by noisy DC-DC converters.
Solution: Implement LC filters, separate analog and digital grounds, and use low-noise LDOs for sensitive sections. Place bulk and bypass capacitors close to ICs.
3. Thermal Runaway in Driver ICs
Problem: Overheating leads to shutdown or permanent damage.
Solution: Add thermal vias beneath IC pads, increase copper pour area, and consider forced-air cooling in enclosed spaces. Monitor temperature during burn-in.
4. Poor Solder Joints on Fine-Pitch Components
Problem: Bridging or open circuits in dense ICs like TCONs.
Solution: Optimize stencil aperture design, use laser-cut stencils, and apply nitrogen reflow. Conduct X-ray inspections for BGA packages.
5. Compatibility Between Display Module and PCB
Problem: Incorrect pinout mapping or voltage level mismatch.
Solution: Verify datasheets thoroughly. Use breakout boards for initial testing. Request pre-production samples for validation.
Future Trends in PCB Assembly Display Technology
As technology evolves, so do the demands on display PCB assemblies. Several emerging trends are shaping the future of this domain.
1. Miniaturization and HDI Adoption
Devices continue shrinking while adding features. HDI PCBs with microvias, blind/buried vias, and stacked vias enable denser routing in smaller footprints — ideal for AR glasses or implantable medical devices.
Expect wider adoption of any-layer interconnect (ALIVH) and build-up technologies.
2. Flexible and Foldable Displays
Foldable phones and rollable TVs require flexible PCB assembly solutions that bend without breaking. Polyimide-based substrates, dynamic flex zones, and strain-relief designs become critical.
Manufacturers must master handling delicate FPCs during assembly and testing.
3. Integration of AI and Smart Sensors
Next-gen displays incorporate ambient light sensors, proximity detectors, and even biometrics. Display board assembly now includes sensor fusion algorithms and edge AI processors.
This increases complexity but enhances user experience through adaptive brightness, gesture control, and personalized UIs.
4. Sustainability and Eco-Friendly Materials
Environmental regulations push toward halogen-free laminates, lead-free solders, and recyclable packaging. Some companies explore bio-based substrates or water-soluble fluxes.
Green manufacturing practices will become a competitive differentiator.
5. Increased Use of Automation and AI in Assembly
AI-driven predictive maintenance, machine vision for defect detection, and robotic calibration systems are streamlining display PCB assembly services.
Autonomous repair bots and self-optimizing SMT lines could soon become mainstream.
How to Get Started with Your PCB Assembly Display Project
Ready to bring your display concept to life? Follow these steps to initiate a successful collaboration with a PCB assembly manufacturer.
1. Finalize Your Design Files
Prepare complete documentation including:
- Gerber files (RS-274X format)
- Bill of Materials (BOM) with MPNs and alternatives
- Pick-and-place file (centroid data)
- Assembly drawings and special instructions
- Test specifications
Ensure your BOM clearly identifies display-specific components (driver ICs, connectors, etc.).
2. Request a Quote
Submit your files to potential vendors. Reputable companies respond with detailed quotes outlining:
- Unit pricing based on volume
- Lead times
- Tooling costs (stencils, test fixtures)
- Component sourcing options
- Compliance certifications
Use the get a PCB quote form to start the process efficiently.
3. Engage in DFM Review
Before committing to production, participate in a Design for Manufacturability (DFM) review. This collaborative step identifies potential issues early — saving time and money.
Ask questions about recommended footprint modifications, thermal pad designs, or test point placements.
4. Approve First Article Samples
Once production begins, request first-article samples for evaluation. Test them rigorously under real-world conditions.
Confirm display functionality, touch accuracy, brightness uniformity, and thermal behavior.
5. Scale to Volume Production
After approval, transition smoothly into full-scale manufacturing. Establish clear communication channels for ongoing support, inventory management, and quality reporting.
Consider setting up recurring orders with agreed-upon forecasts to secure supply chain stability.
Conclusion: Mastering the Art of PCB Assembly Display
The PCB assembly display is far more than a simple circuit board — it’s a sophisticated ecosystem of hardware, software, and precision engineering working in harmony to deliver visual information reliably.
From smartphones to life-saving medical equipment, the performance of a display hinges directly on the quality of its underlying display board assembly. Choosing the right display PCB assembly service ensures not only technical excellence but also faster innovation, reduced risk, and greater market competitiveness.
By understanding the intricacies of design, manufacturing, testing, and sourcing, you can make informed decisions that elevate your product’s performance and reliability.
Whether you’re developing a prototype or scaling to mass production, partnering with a trusted PCB assembly manufacturer equipped with advanced capabilities and deep domain knowledge is the smartest move.
Take the next step today — review your design, reach out to experts, and unlock the full potential of your display-driven innovation.
If you're looking for reliable PCB assembly services, explore our range of offerings at PCB assembly services and discover how we can support your next project.